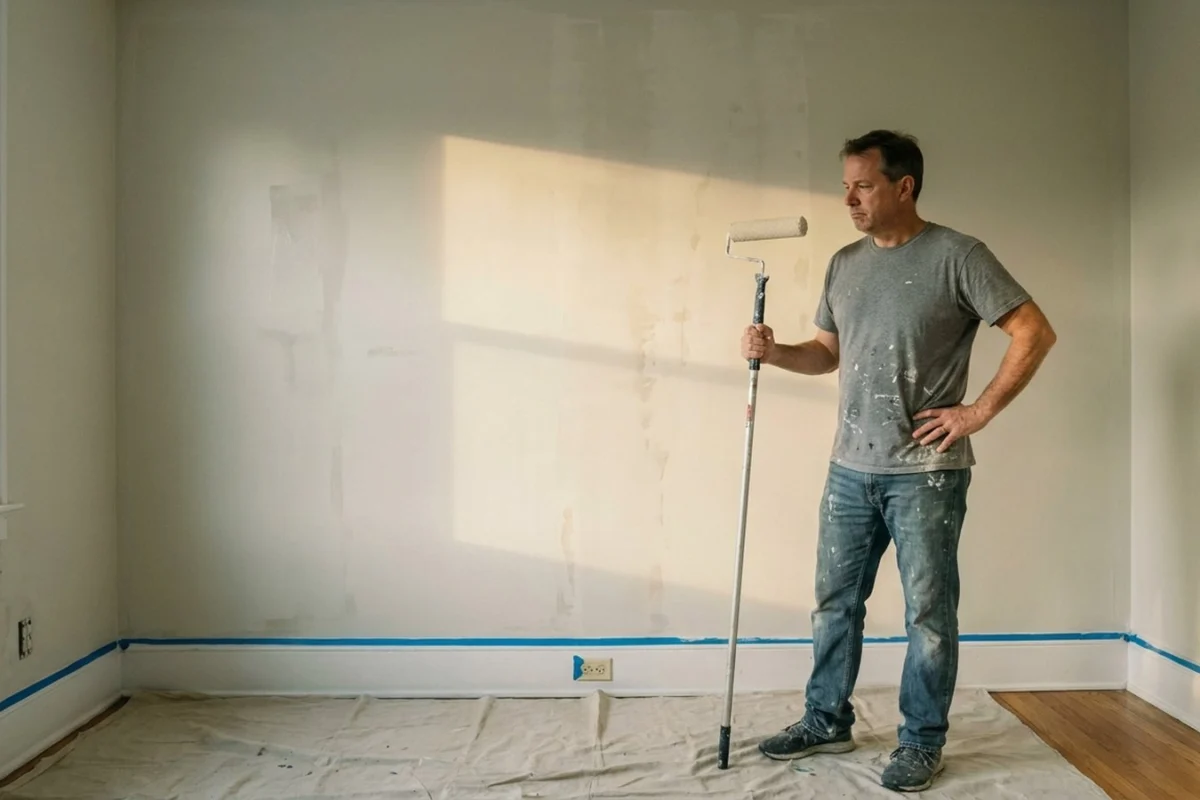
You picked the color carefully, taped the trim, and rolled the wall in an afternoon. Then the light came in sideways the next morning and showed every lap mark, a faint orange peel texture, and two lines where the roller ran dry. The paint was fine. The paint roller for walls was the wrong one, and nobody at the store mentioned it.
The gap between a smooth wall and a streaky one usually comes down to a number printed in small type on the sleeve wrapper: the nap length. Match it to your wall texture and the finish evens out. Ignore it and no amount of extra coats will fix what the wrong sleeve is doing.
This guide covers what the roller actually controls, how nap length maps to your wall, what separates a frame that lasts from one that wobbles, a seven day test to run before you buy paint, and the situation where a roller is not the tool and one where the wall itself needs a specialist.
As an Amazon Associate I earn from qualifying purchases.
What a paint roller for walls actually controls
The symptom: the wall looks fine while wet and shows lap marks, stipple, or thin patches once it dries and the light hits it at an angle.
Why it happens: a roller does two jobs at once. It carries a volume of paint and it deposits that paint into a texture. The sleeve fibers hold the paint, and how long those fibers are decides both how much film goes down and how well it reaches into low points in the surface. Too short on a textured wall and the low points stay bare. Too long on a smooth wall and the fibers leave their own stipple pattern in the film.
The adjustment: choose the sleeve for the wall, not for the paint. The National Park Service, in its guidance on painting historic interiors, is blunt about the larger point: a paint job is only as good as the preparation that goes before it. It also notes that a roller is perfectly acceptable for priming and for a first finish coat on a large flat area, which is worth knowing if you have been told rollers are inherently second rate. They are not. They are simply sensitive to being matched correctly.
Nap length, the number that decides the finish
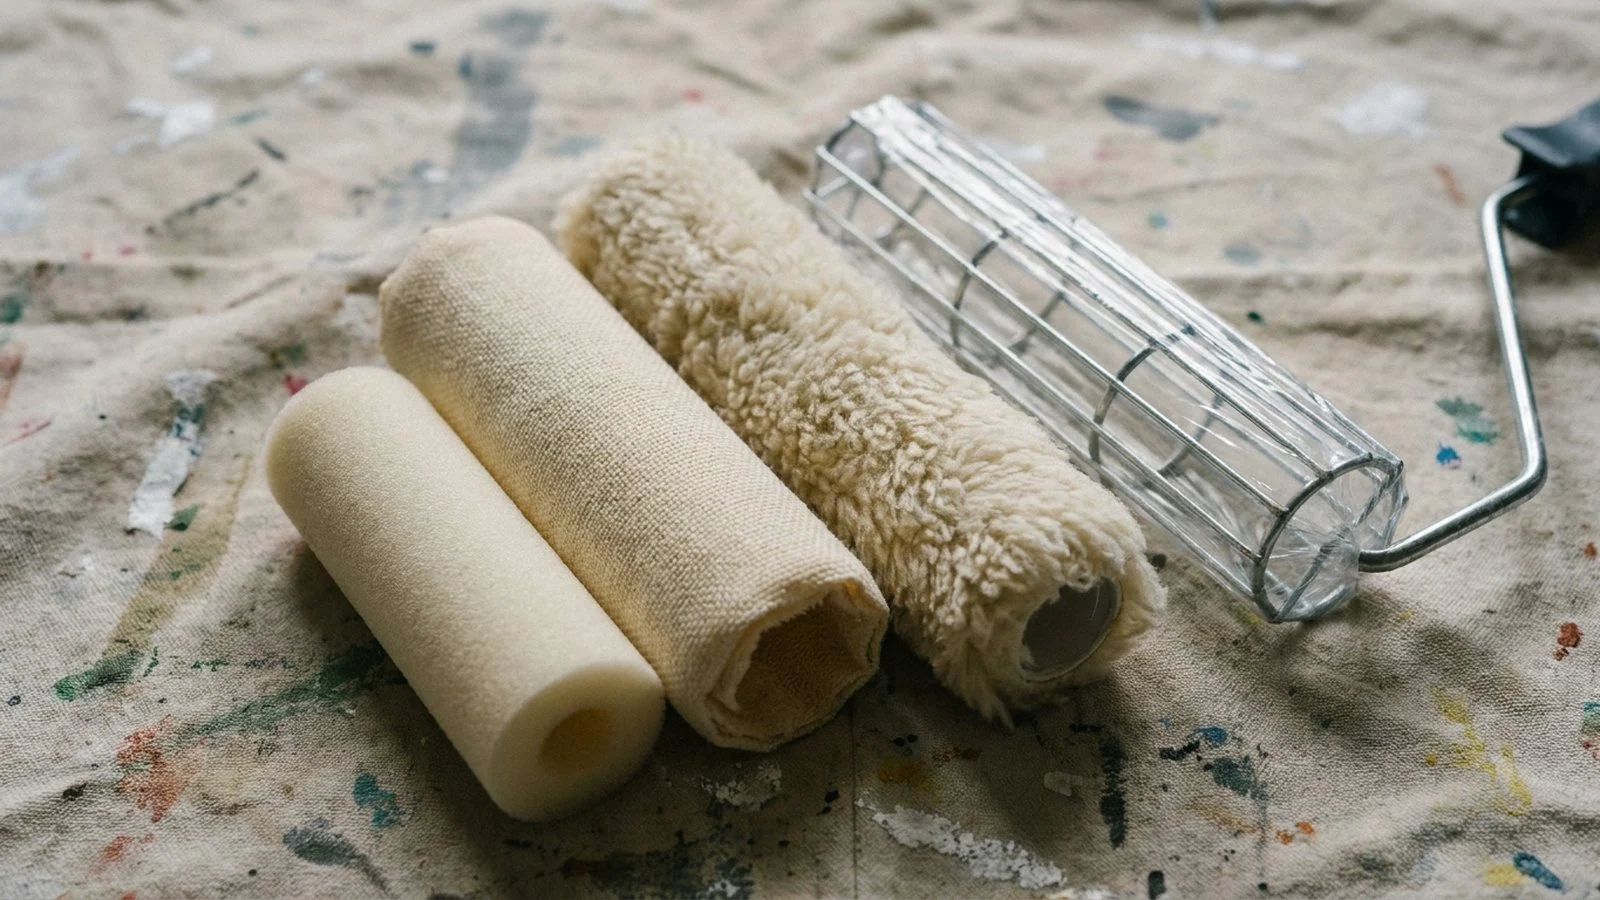
Nap is the fiber length on the sleeve, printed on the wrapper in fractions of an inch. Sleeve packaging states which surface it is intended for, and that label is the most reliable guide you have, since fiber type and density vary between makers.
Smooth and lightly textured drywall
Short nap sleeves lay down a thinner, more even film and leave the least texture of their own. This is what people are looking for when they search for the smoothest possible finish. The trade off is capacity. A short nap holds less paint, so you reload more often and you have to keep a wet edge moving or you get lap marks. Work in sections and roll back into the section you just did while it is still wet.
Knockdown, orange peel, and heavier texture
Longer nap reaches into the low points that a short sleeve skips over. On a textured wall a short nap produces a wall that looks patchy in raking light, because only the high points took paint. The trade off is that longer fibers deposit more stipple and use noticeably more paint.
The frame, the cage, and why cheap ones wobble
The frame is the part you keep. A five wire cage flexes and lets the sleeve slip or spin unevenly, which shows up as pressure marks at the sleeve edges. A sturdier cage with more support wires holds the sleeve round under pressure. Look at how the sleeve seats on the cage and whether the end cap keeps it from sliding.
The other detail worth having is a threaded handle end that accepts an extension pole. Rolling a wall from the floor with a pole gives more even pressure than reaching overhead from a ladder, and it is easier on your shoulders.
Which setup fits your job
Prices move with sales and store, so read these as rough positioning and check before buying.
A budget all in one kit with tray, frame, and sleeve. Usually the cheapest entry, roughly the fifteen to thirty dollar range for the set. Worth it for a single small room, a rental touch up, or a first attempt where you are not sure you will paint again. Not worth it if you plan to paint more than one room, because the frame is the first thing to flex and the tray is flimsy. The trade off is upfront cost against finish quality.
A quality frame bought separately, plus sleeves chosen per job. The frame usually sits in the ten to twenty five dollar range and good sleeves in the five to fifteen range each. Worth it for anyone painting more than one room or planning to paint again, since the frame lasts for years and you only replace sleeves. Not worth it for one small closet. The trade off is spending more at the start to stop replacing the same part.
Adding an extension pole and a bucket with a grid instead of a tray. Usually the ten to twenty five dollar range each. Worth it for full rooms and for ceilings, because a bucket and grid holds far more paint than a tray and does not tip. Not worth it for touch ups. The trade off is storage space against far fewer reloads and spills.
Mini rollers, four to six inches. Low cost. Worth it for cutting in behind toilets and radiators, for doors, and for narrow wall sections between windows. Not worth it as your main tool, since covering a whole wall with one takes a long time and multiplies lap marks. The trade off is access against speed.
Do not buy the cheapest sleeve for a finish coat. A low quality sleeve sheds fibers into the paint film, and picking them out of a drying wall is worse than the money you saved.
The 7-day test to run before you buy paint
This costs almost nothing and prevents the most expensive mistake, which is painting a whole room twice.
- Day 1: turn off the room lights and shine a flashlight along the wall at a sharp angle. That raking light reveals the real texture, plus every dent, nail hole, and old patch. Photograph what you see.
- Day 2: wash a small section with mild soap and water and let it dry. If the cloth comes away gray or greasy, the whole wall needs washing before paint, otherwise the film will not bond evenly.
- Day 3: fill the holes you found and hand sand them flush. The National Park Service notes that mechanical sanders usually leave traces of the sander edges that stay visible through the new paint film, and that hand sanding is what feathers the repaired edge down so shadow lines are avoided.
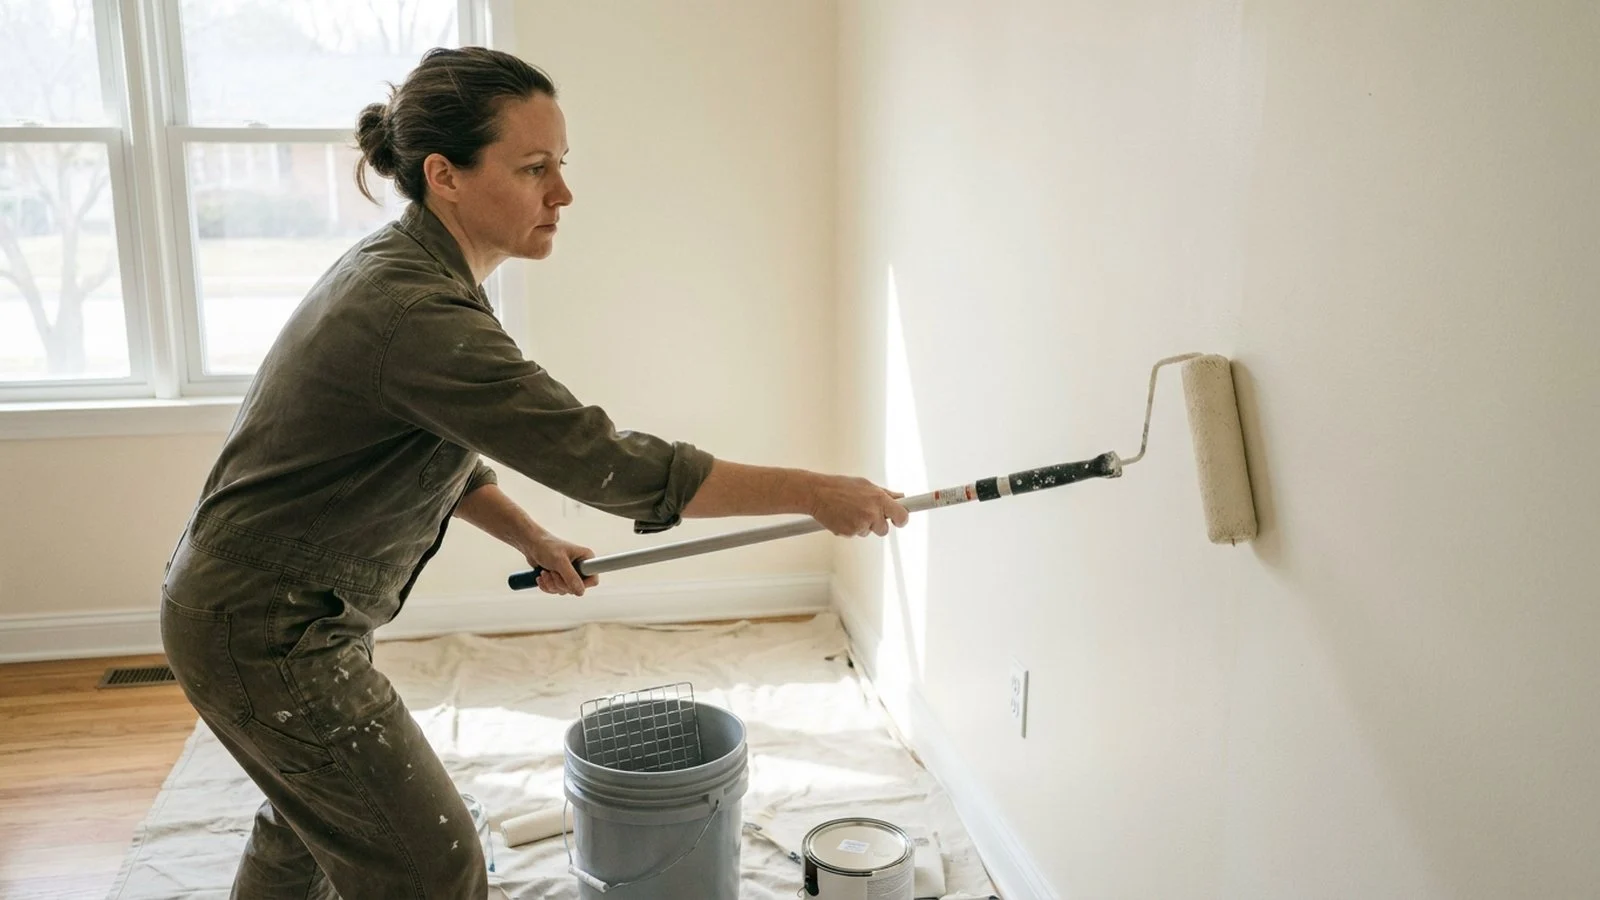
- Days 4 to 6: paint a test patch about two feet square with the sleeve you plan to use, let it fully dry, then check it with the flashlight again each day. Stipple and lap marks show up in raking light long before they show in normal light.
- Day 7: decide. If the patch is even, buy paint for the room and use that same sleeve. If it looks stippled on a smooth wall, go shorter on nap. If it looks patchy on a textured wall, go longer.
One thing the test will make obvious: sanding and prep throw a lot of fine particles into the room, and they settle for days afterward on every surface, which is worth planning for if you already fight dust that keeps coming back after cleaning.
When it’s not a roller problem
Most walls just need the right sleeve and honest prep. Three situations are different, and one of them is a health issue rather than a finish issue.
Homes built before 1978. This is the one to take seriously. The US EPA states that any renovation, repair, or painting project in a pre-1978 home that has lead-based paint can easily create dangerous lead dust, and that as you scrape, drill, cut, open walls, remove trim, or demolish, you create dust that may contain lead. The EPA also notes that its Renovation, Repair and Painting Rule generally does not apply to homeowners working on their own home, although it does apply if you rent out all or part of it, run a child care center there, or renovate and sell homes for profit. Not being covered by a rule is not the same as being safe, so if your home predates 1978 and you plan to scrape or sand, follow lead safe practices: test first, contain the area, mist rather than dry sand, use a HEPA vacuum, and clean thoroughly afterward.
Walls with damp, staining, or peeling in sheets. Paint over active moisture and it will fail again, usually within a season. Find the water source first. Peeling that comes off in wide sheets points at an adhesion or moisture problem underneath, not at your technique.
Large open areas, cabinets, and detailed trim. A sprayer covers big empty walls faster and gives a finer finish on doors, cabinets, and molding, at the cost of masking everything and cleaning the equipment. For one furnished bedroom, masking usually costs more time than rolling saves. For an empty house, the balance flips.
Anything structural behind the wall. If you are opening the surface rather than coating it, that is a different job with different tools, closer to the beginner home projects that involve fixing rather than finishing.
Read also
- Easy DIY home projects for beginners
- Best cordless drills for home use: how to choose one
- Why is my house so dusty: causes and how to reduce it
- Simple cleaning routine for a tidy home: a room by room guide
Sources
- US EPA, Lead-Safe Renovations for DIYers
- National Park Service, Preservation Brief 28: Painting Historic Interiors (PDF)
- US EPA, Lead Renovation, Repair and Painting Program
Perguntas frequentes
What nap roller should I use for interior walls?
Match the nap to the wall texture, not to the paint. Short nap sleeves give the smoothest film on flat drywall but hold less paint, so you reload more often. Longer nap reaches into knockdown or orange peel texture. The sleeve wrapper states the surface it is made for, and that label is the most reliable guide.
Why does my wall look streaky after rolling?
Usually one of three things: the nap is wrong for the texture, you let the edge dry before rolling back into it, or the sleeve is low quality and shedding. Work in sections, keep a wet edge, and check a dried test patch with a flashlight held at a sharp angle before doing the whole room.
Is it safe to sand walls in an older house?
Take care if your home was built before 1978. The EPA says painting and repair projects in pre-1978 homes with lead-based paint can easily create dangerous lead dust when you scrape, sand or open surfaces. Test first, contain the area, mist instead of dry sanding, use a HEPA vacuum and clean thoroughly.
Do I need an expensive roller frame?
You need a rigid one more than an expensive one. A flimsy cage lets the sleeve flex and slip, which leaves pressure marks at the sleeve edges. If you plan to paint more than one room, buy a solid frame once and replace only the sleeves, since the frame lasts for years.
Should I use a roller or a sprayer?
A roller wins in a furnished room, because masking everything for a sprayer usually costs more time than spraying saves. A sprayer wins on large empty walls and on doors, cabinets and trim, where it lays a finer finish. Empty house favors spraying, lived-in room favors rolling.